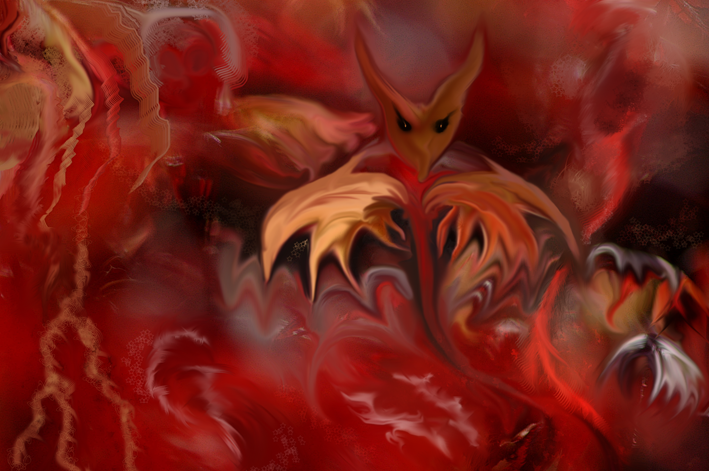
Smudge Brushing: Sweet Senescence
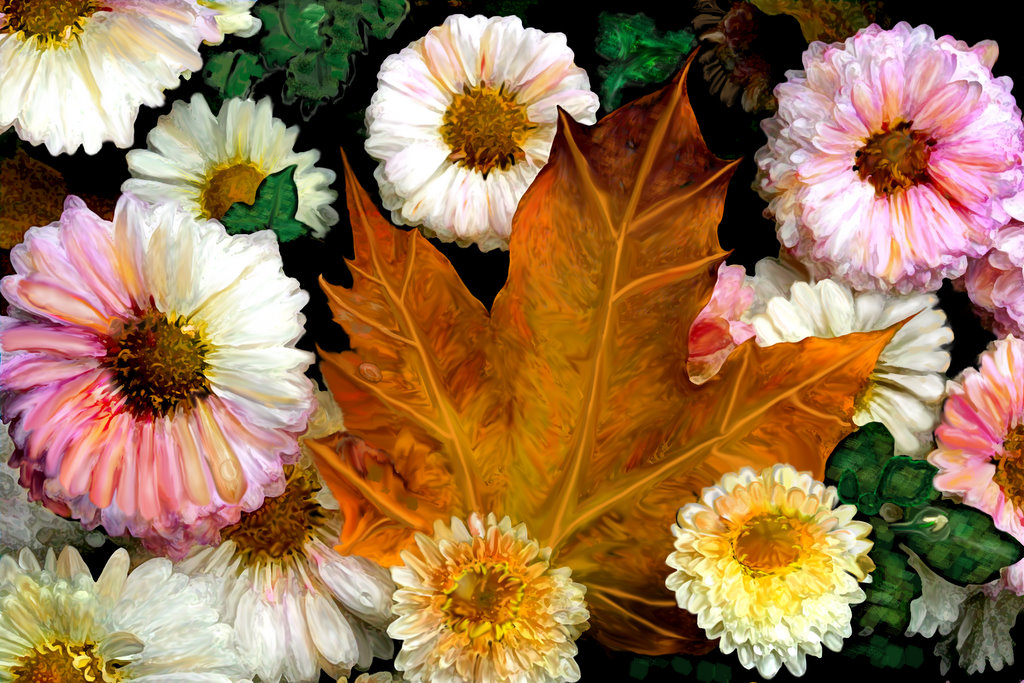 I'm dedicating this to my Mom.
I've worked on it for weeks and it's still not done. I hand smudge brushed every single stroke.

posted by Mary Stebbins Taitt at 3:51 PM
6 comments
![]()
![]()
Constructive and Helpful Criticism for Photos, Part II
I'm dedicating this to my Mom.
posted by Mary Stebbins Taitt at 3:51 PM
6 comments
![]()
![]()
 I was curious about the effects of the different options under smudge painting.
posted by Mary Stebbins Taitt at 11:52 PM
2 comments
![]()
![]()
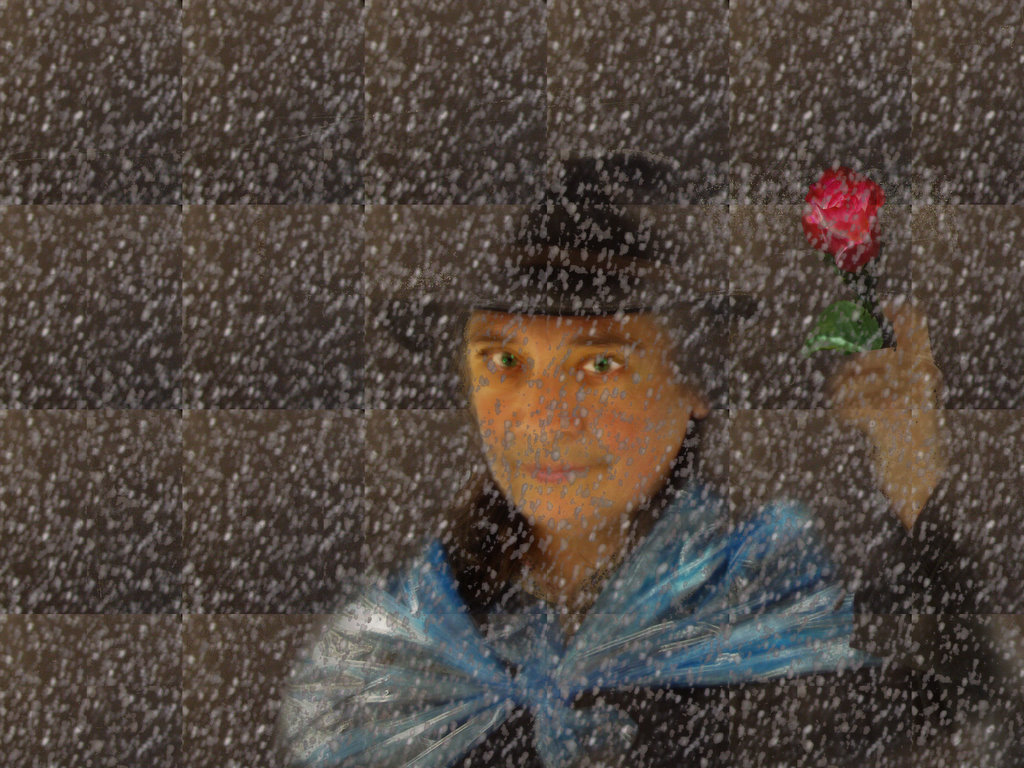 This is a smudge painting. The rose is for my mother.
posted by Mary Stebbins Taitt at 11:51 PM
4 comments
![]()
![]()
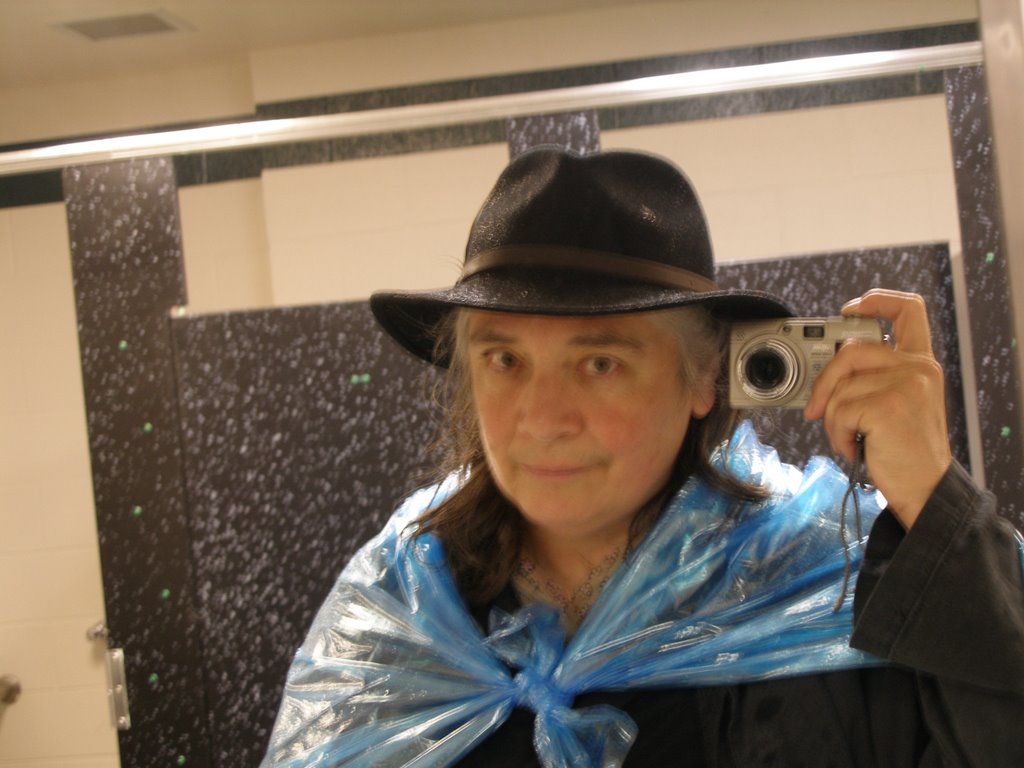 In the bathroom at Niagara
posted by Mary Stebbins Taitt at 11:50 PM
0 comments
![]()
![]()
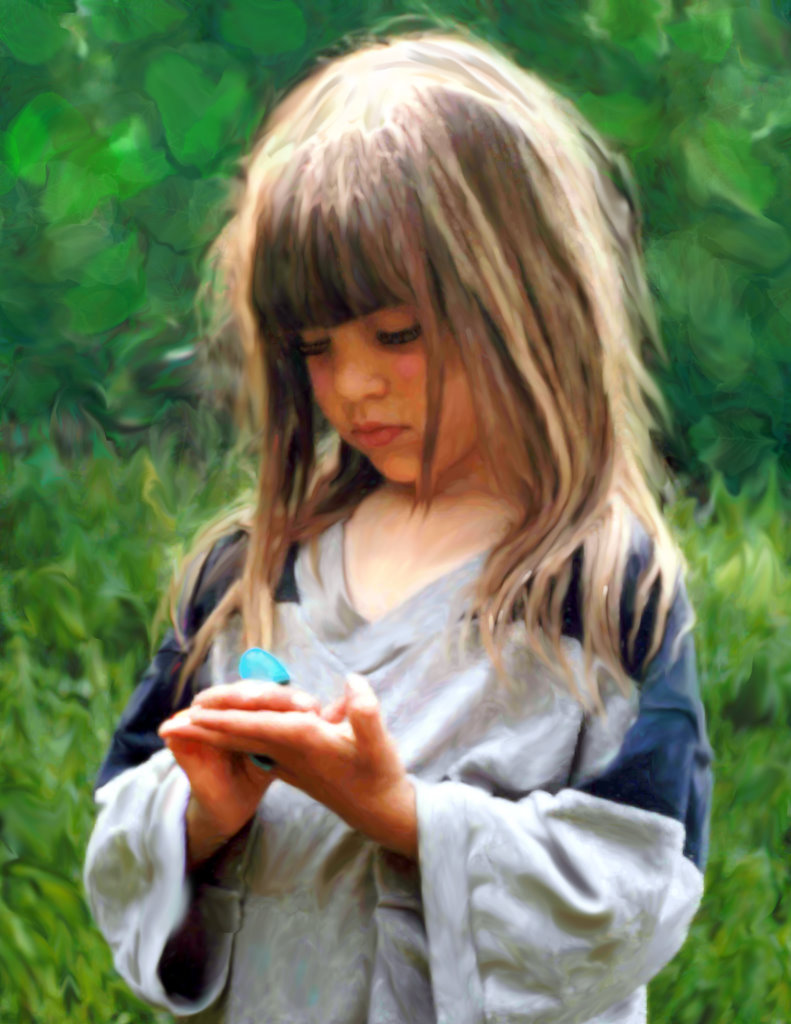
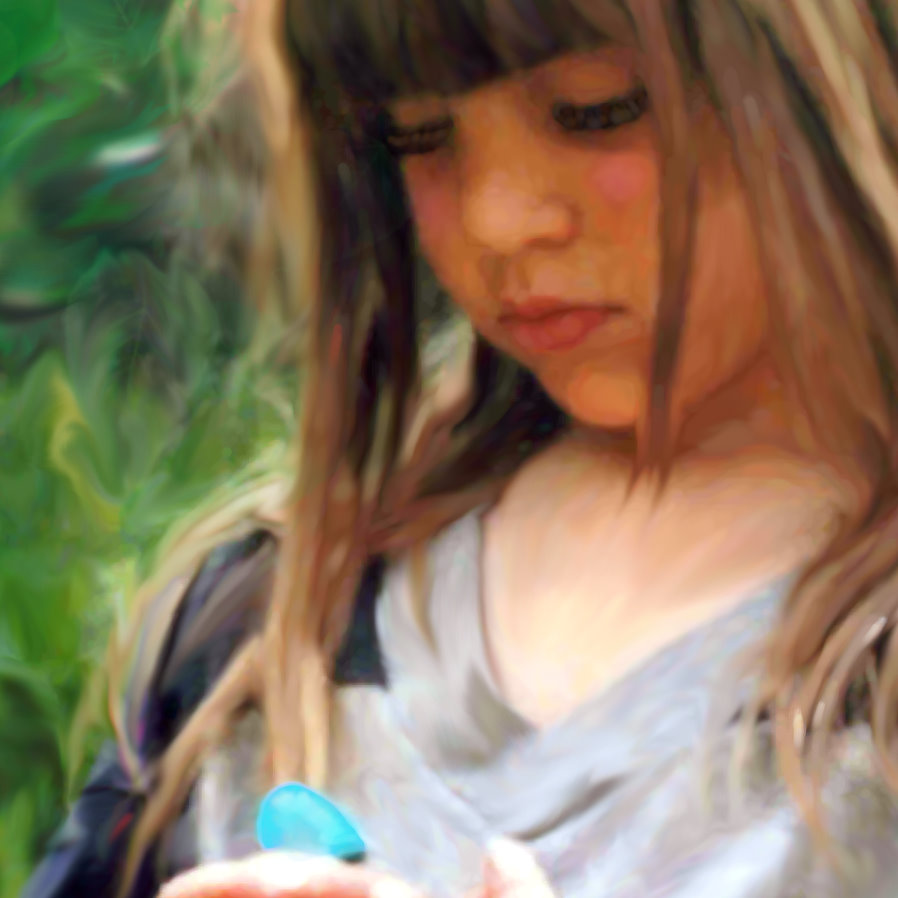
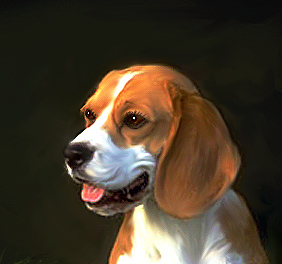
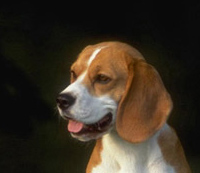
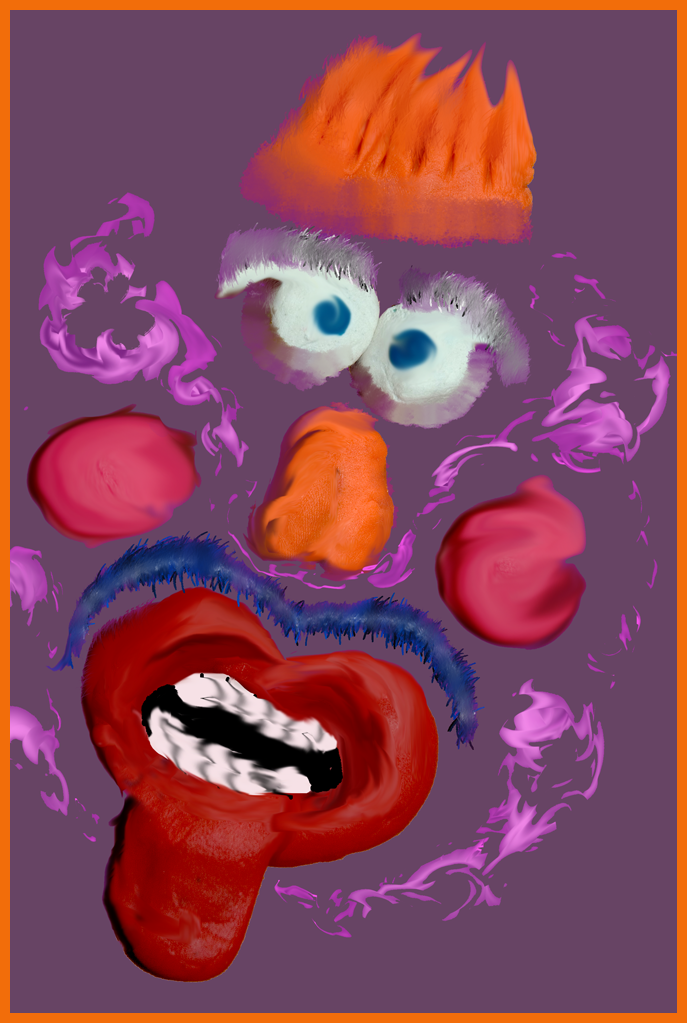
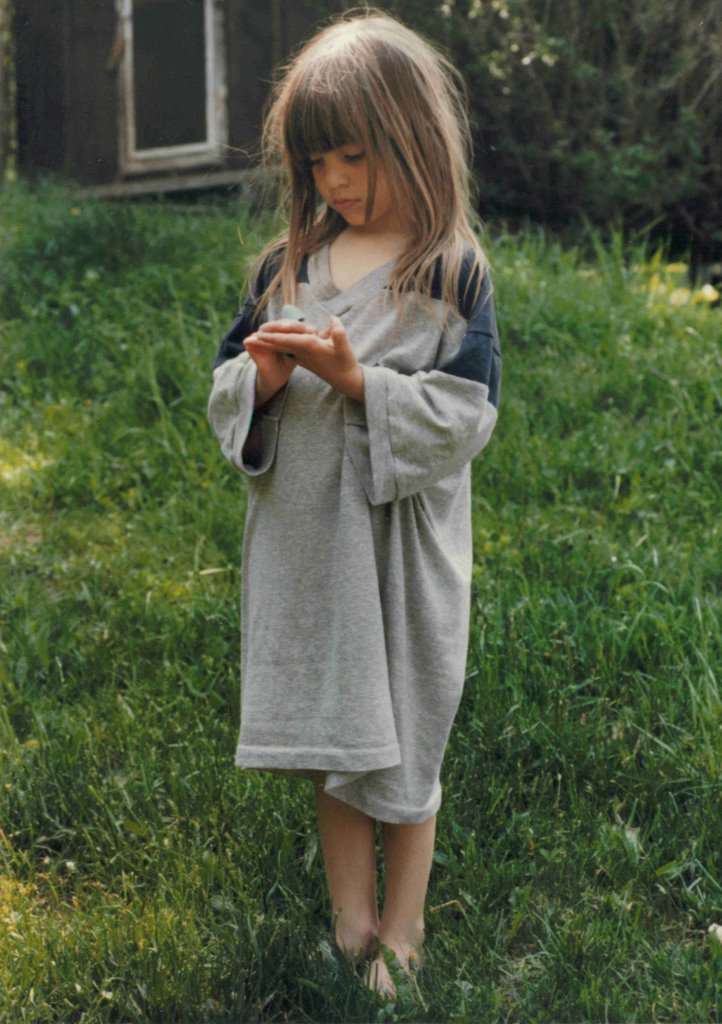 This is a smudge-tool painting I made from an old scanned photo I took in 1981 of Erin. I've included the original scan and a detail from the "painting." Click on the images (you can click twice) to see the details, if interested.
posted by Mary Stebbins Taitt at 11:01 PM
1 comments
![]()
![]()

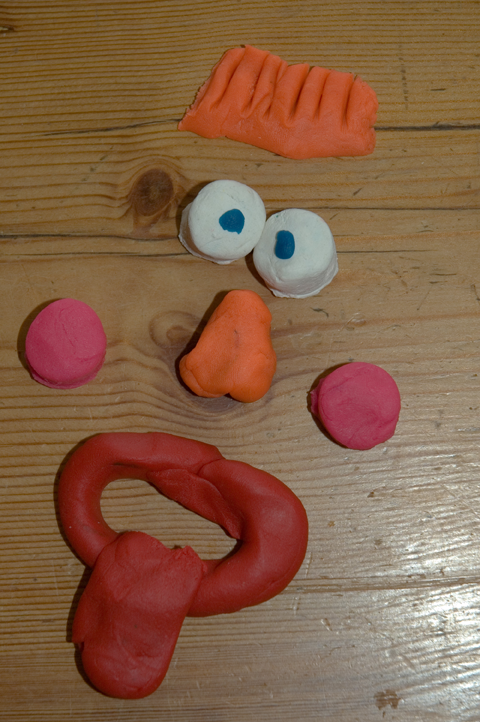
 I tried to follow the tutorial, but I have no idea how to use history snapshots. Seems like a good thing to know, but I didn't have time right now to try to learn that too, so I did it without that. It prolly needs more work but I am out of time!
posted by Mary Stebbins Taitt at 11:00 PM
3 comments
![]()
![]()
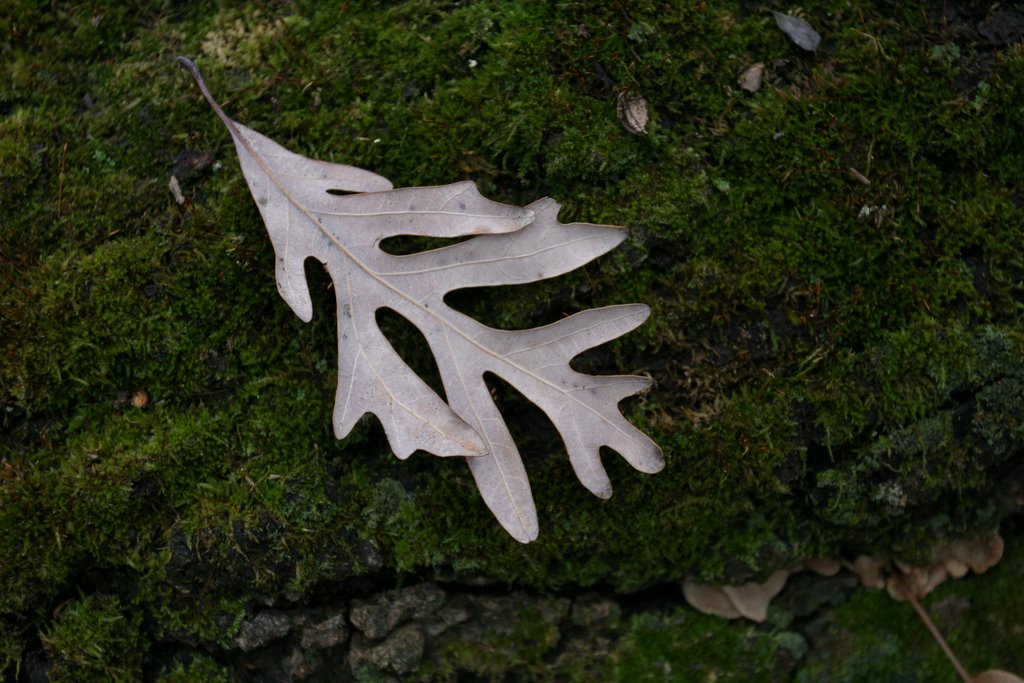
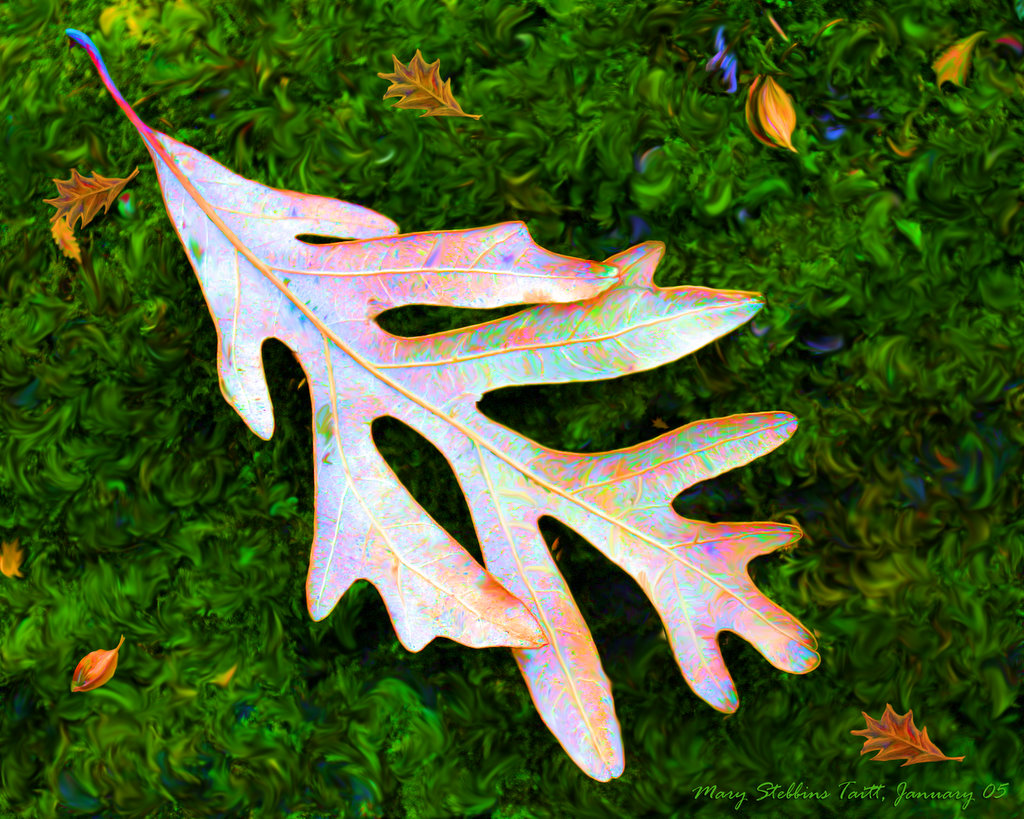 The underside of a white oat leaf smudge-tool painted. Original first, smudge-painted second. Once again it is important to click on this to get the full effect.
posted by Mary Stebbins Taitt at 9:26 PM
3 comments
![]()
![]()
 And this is what it turned into. I found all sorts of new brushes which I have never come across before and could prove useful for many things. I am sure, Mary, you have already come across them. If you click on the little button on the r/h side of the brush palette you get to all sorts of different palettes.
posted by Katie J at 5:56 AM
2 comments
![]()
![]()
posted by Katie J at 3:36 AM
3 comments
![]()
![]()

posted by Katie J at 2:24 AM
1 comments
![]()
![]()
posted by Katie J at 1:34 AM
1 comments
![]()
![]()
 I did this entirely by smudge painting with a SINGLE color--that bright hot pink--the smudge brush alone created the other colors!
posted by Mary Stebbins Taitt at 6:10 PM
1 comments
![]()
![]()
 I have TONS of ice shots (but not tons of time!). Hope to post more later. Mary
posted by Mary Stebbins Taitt at 11:23 PM
0 comments
![]()
![]()

posted by Katie J at 1:03 AM
3 comments
![]()
![]()


posted by Katie J at 1:01 AM
0 comments
![]()
![]()

posted by Katie J at 1:00 AM
2 comments
![]()
![]()
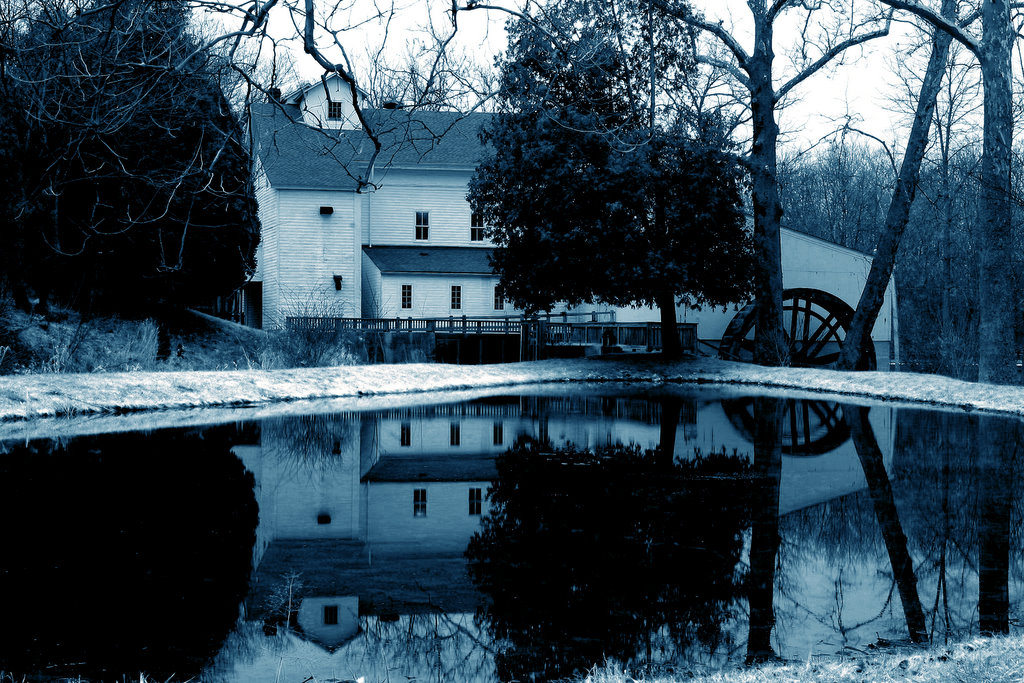
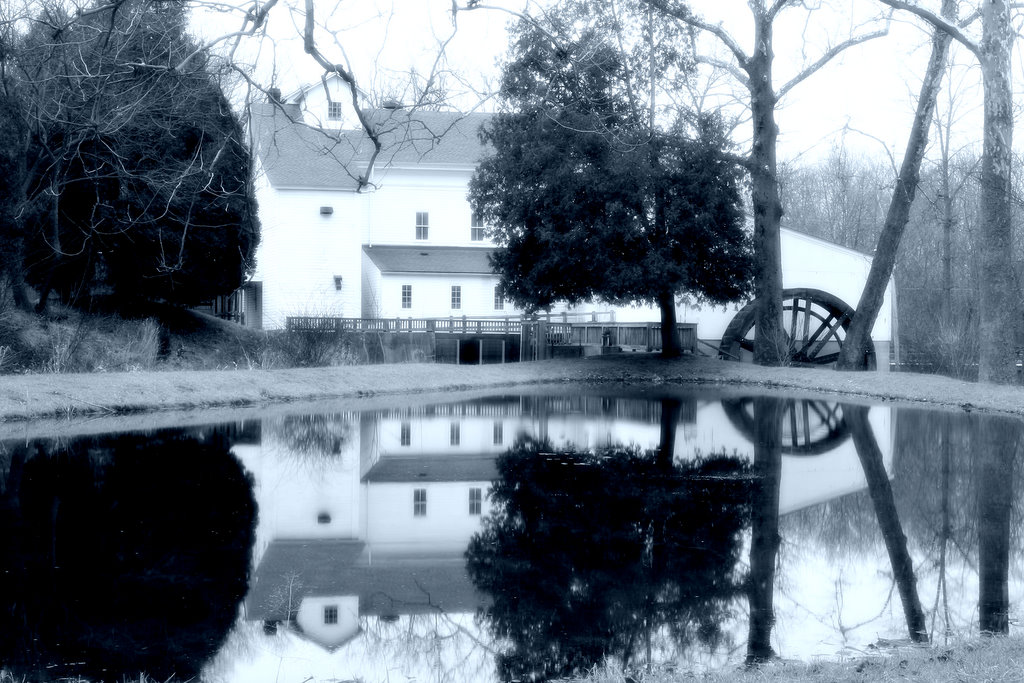
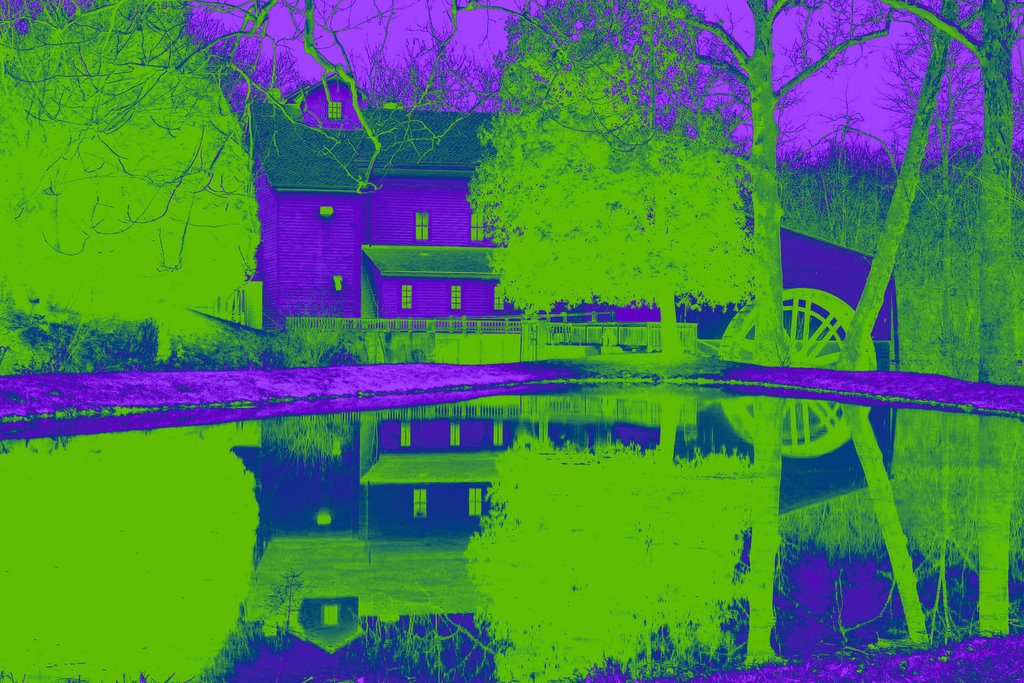 We went to Wolcott Mill yestersday. We'd never been there before. It's a historical Mill and reenactment site, and we got a behind the scenes tour. Very interesting.
posted by Mary Stebbins Taitt at 7:51 AM
2 comments
![]()
![]()

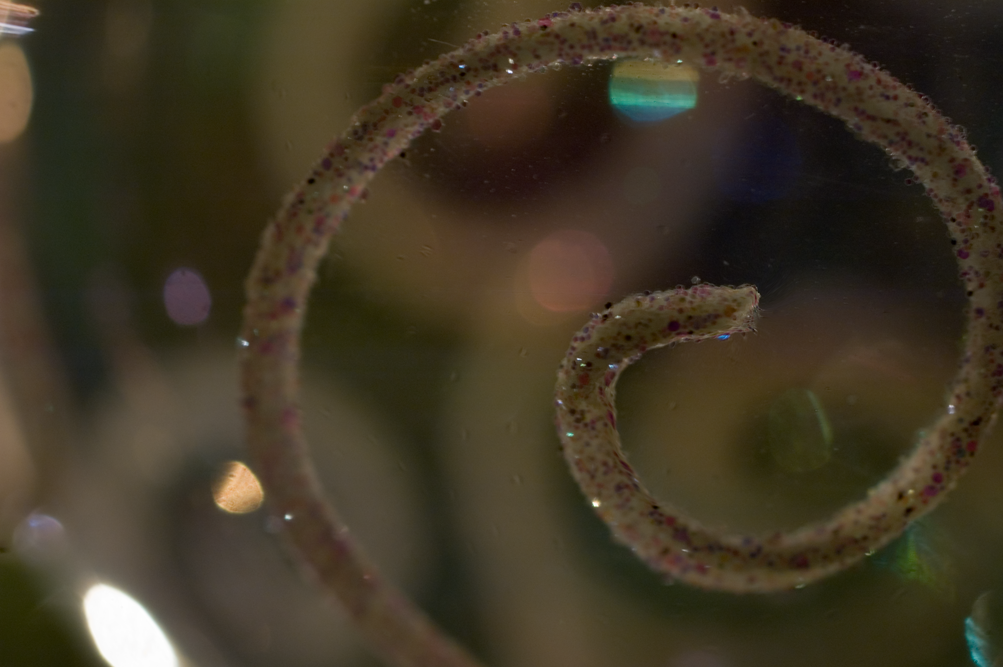
I changed the WB on the camera to Fluorescent to shoot this plain ice with my macro lens.
Figured I might get banned from BP if I put it on there since some people's sensibilities are so easily upset.
Actually I borrowed the right hand nipple and cut and paste it into the one on BP to make it look more like a mountain.
posted by Katie J at 5:12 AM
4 comments
![]()
![]()

posted by Katie J at 4:18 AM
0 comments
![]()
![]()
posted by Katie J at 1:31 AM
2 comments
![]()
![]()

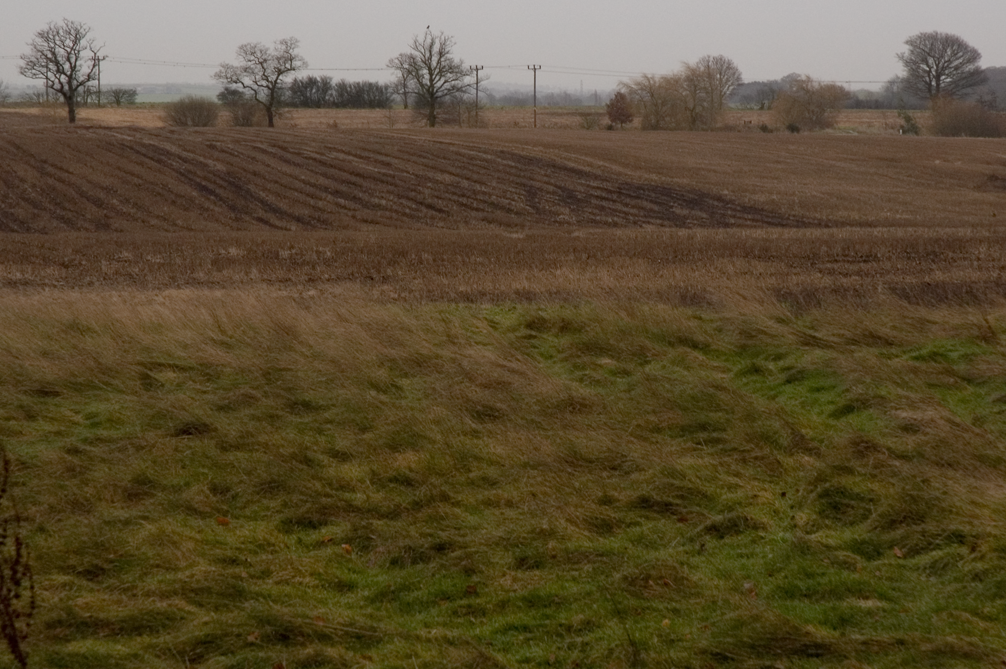
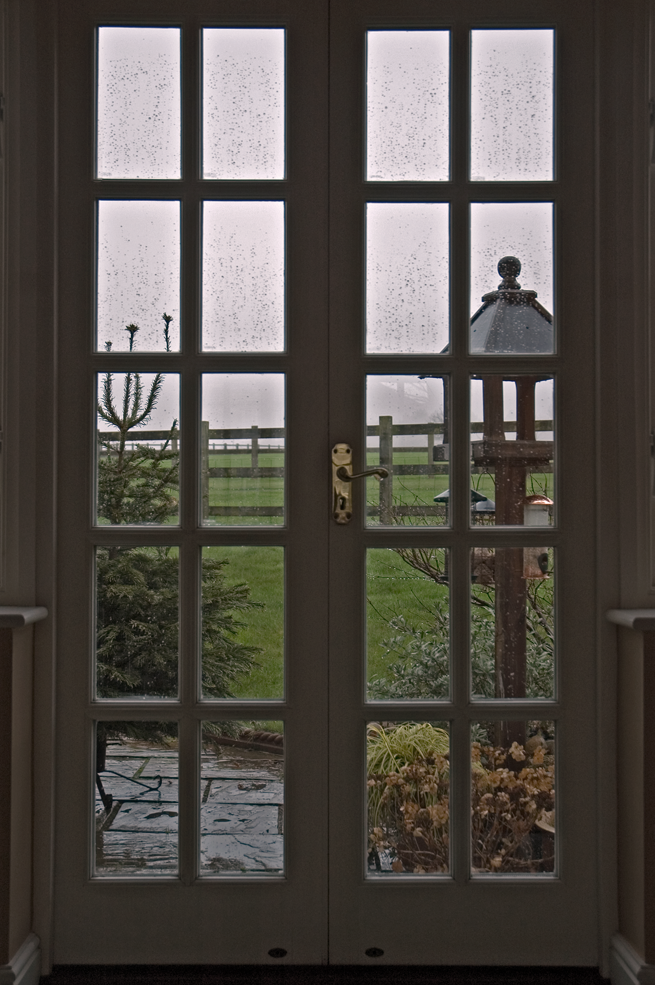
 This is the sort of weather we have to put up with here in England mostly from mid December until mid March. I remember our teacher last year Val when he said he would love to come to England to shoot in this sort of weather. He would find it inspiring.
posted by Katie J at 1:20 AM
1 comments
![]()
![]()
 This is a restaurant near us, with winter trees and snow painted on its doors and windows. That's me in the reflection.
posted by Mary Stebbins Taitt at 10:40 PM
3 comments
![]()
![]()

posted by Katie J at 11:59 PM
2 comments
![]()
![]()
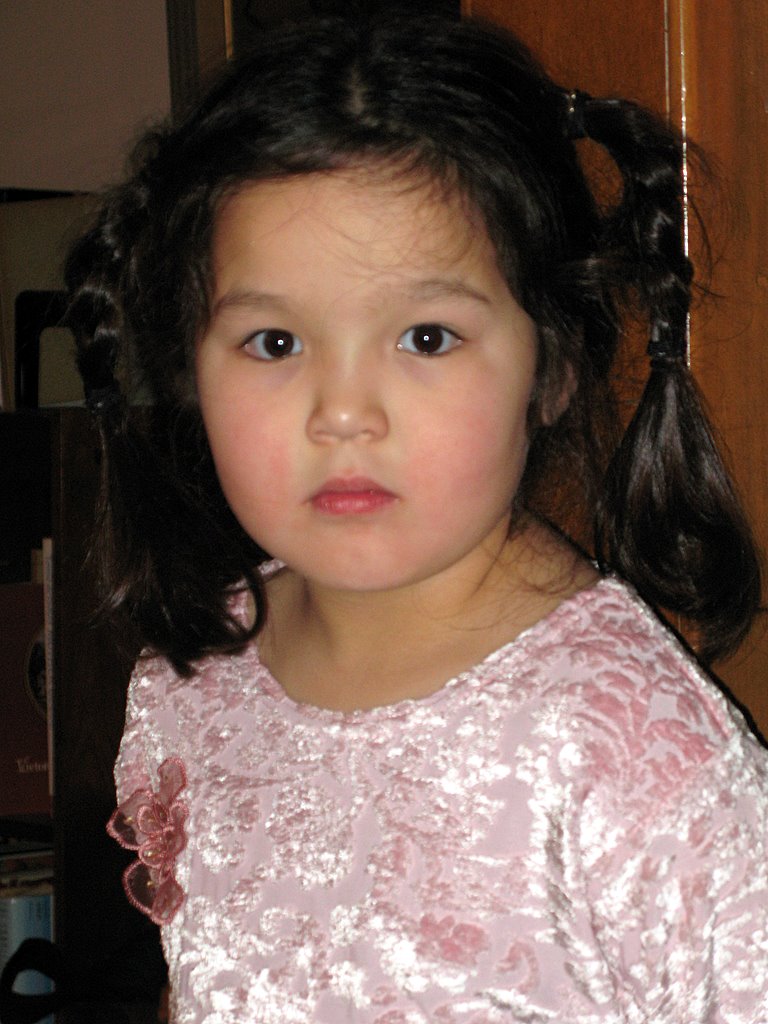 here's the updated version from this Christmas--we gace her the dress.
posted by Mary Stebbins Taitt at 11:49 PM
1 comments
![]()
![]()

